Areas in MVC
Document by Ganesan – ganesanva@hotmail.com – + 919600370429
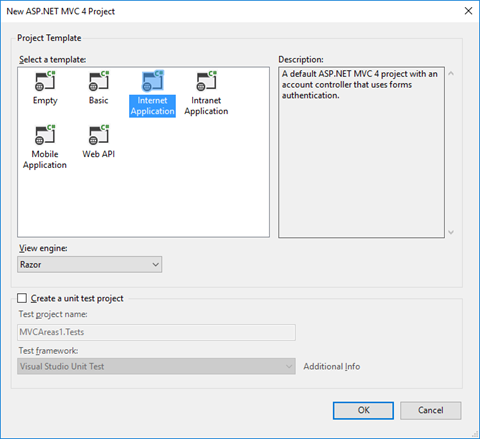
-Create a MVC Application
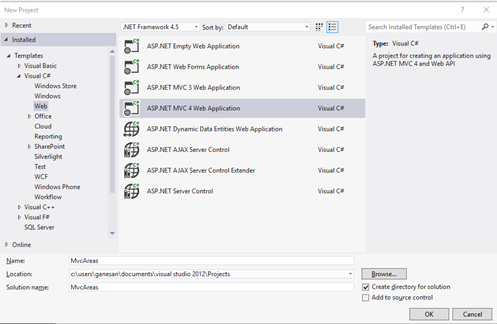
Click OK
– Add Connection in web.config file as below,
| <connectionStrings> <add name=”TestConnection” connectionString=”Data Source=(LocalDb)\v11.0;Initial Catalog=TestDB;Integrated Security=True;Pooling=False” providerName=”System.Data.SqlClient” /> </connectionStrings> |
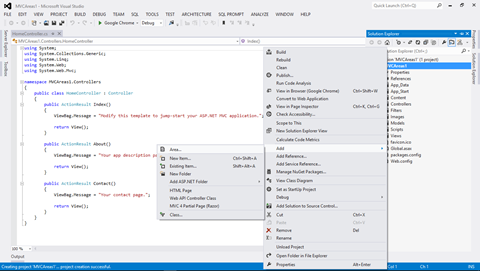
Add Area in the solution with name Admin
Create a Table in TestDB with AdminDetails Table as below.
| CREATE TABLE [dbo].AdminDetails ( [AdminId] INT NOT NULL PRIMARY KEY IDENTITY, [FirstName] VARCHAR(50) NOT NULL, [Lastname] VARCHAR(50) NOT NULL, [Email] VARCHAR(50) NULL, [Password] VARCHAR(50) NULL ) |
Create Employee Table in TestDB as below,
| CREATE TABLE [dbo].[Employee] ( [AdminId] INT NOT NULL, [employee name] VARCHAR (100) NULL, [Age] INT NULL, [Email] VARCHAR (50) NULL, PRIMARY KEY CLUSTERED ([AdminId] ASC) ); |
Add AdminDetails.cs in Admin Areas model as below,
AdminDetails.Cs snippet as below,
| public class AdminDetails { [Key] public int AdminId { get; set; } public string FirstName { get; set; } public string Lastname { get; set; } public string Email { get; set; } public string Password { get; set; } } public class AdminContext : DbContext { public AdminContext() : base(“TestConnection”) { } public DbSet<AdminDetails> AdminDetailsDB { get; set; } } |
Right Click on Controller and Add Controller as below,
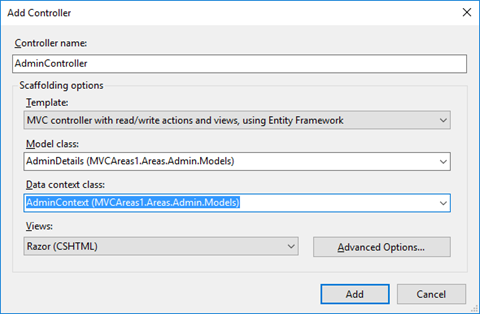
Now CRUD operation generated using Scaffolding.
Similarly Add Student Area by Right clicking on the solution and Add Areas.
Add StudentDetails.cs model in the Student Area.
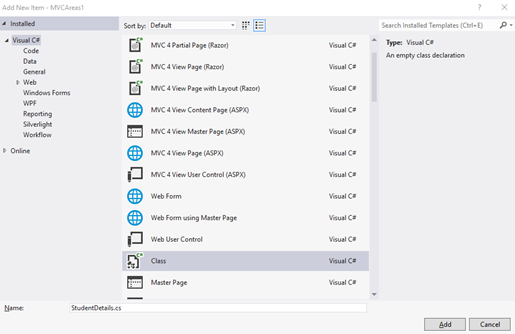
Copy the below snippet in StudentDetails.cs file,
| public class StudentDetails { [Key] public int Id { get; set; } public string StudentName { get; set; } public int? Age { get; set; } } public class StudentContext : DbContext { public StudentContext() : base(“TestConnection”) { } public DbSet<StudentDetails> StudentDetailsDB { get; set; } } |
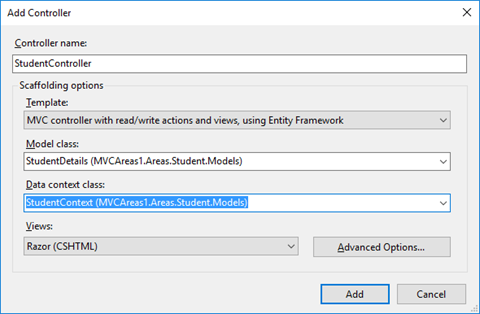
Add Scaffolding for StudentController as below,
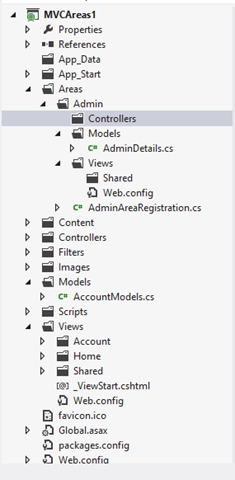
Now the Solution Explorer looks as below,
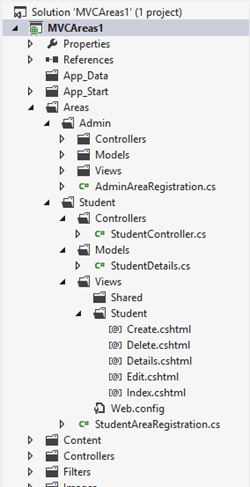
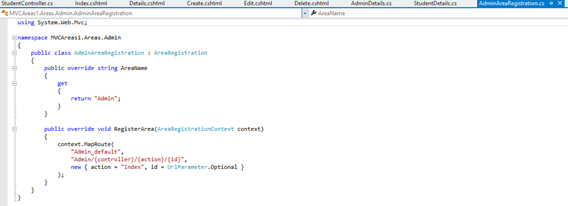
In AdminAreaRegistration and StudentAreaRegistration we can see the routing for Pages,
The OUTPUT for AREA Pages will be as below,
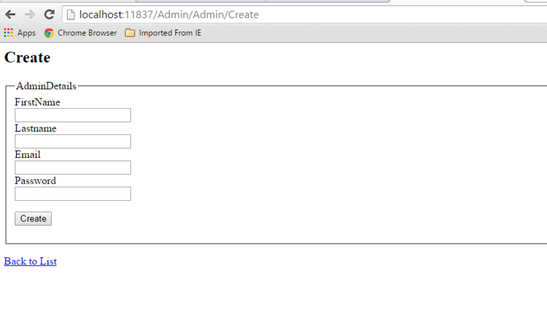
http://localhost:11837/Admin/Admin/Create
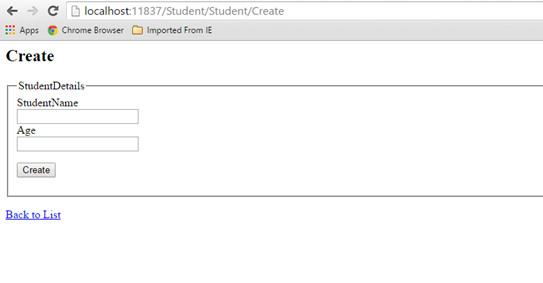
http://localhost:11837/Student/Student/Create
It allows to separate the modules in application development. This also helps for Link Building with relevant keywords.
Click below to download the solution,
https://1drv.ms/u/s!ArddhCoxftkQg6hXj8wspGLO_44ifQ
Recent Posts
Categories
- All
- Angularjs training in Chennai
- ASP.NET Core
- dot net training
- dot net training in chennai
- dotnet full stack developer
- Free dotnet training
- information on dotnet
- Learn Java in chennai
- Learn Python at Karaikudi
- learn python online
- learn python online from chennai
- Linq Queries in .net
- mutual funds
- MVC Training Tutorials
- PHP Training in Chennai
- pmp training online
- power apps online training
- Python Training Online
- share market
- Sharepoint framework online training
- SharePoint Freelancers in Chennai
- software testing
- spfx online training
- Stock market
- Uncategorized