Create Site Columns, Content Types, Bind content type to list in share point
Document by Vairavan – enquiry@softwaretraininginchennai.com – + 919042710472
Navigate to the Site URL http://htc:7004/
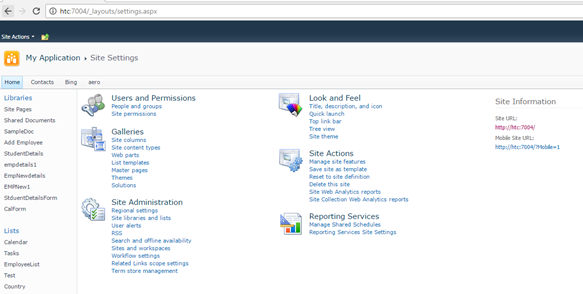
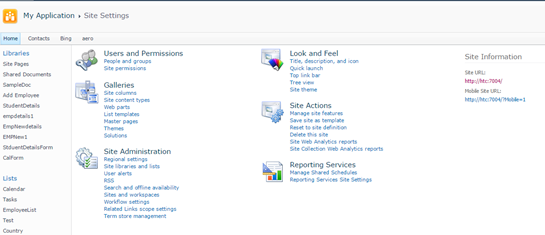
Click on Site Action -> Site Settings
Click on Site Columns in Gallery.
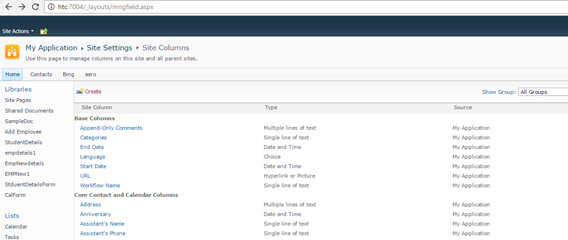
http://htc:7004/_layouts/mngfield.aspx
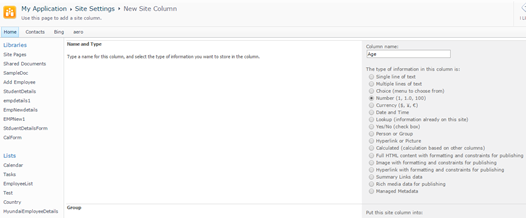
Click on Create.
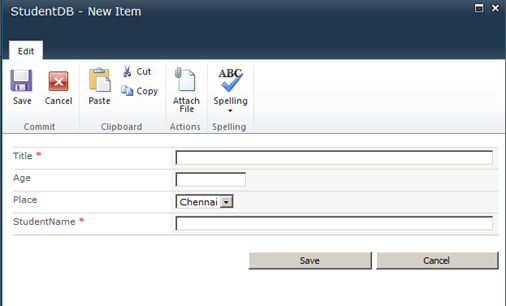
Create a Site column with column name StudentName and type as Single Line of Text. Click Ok.
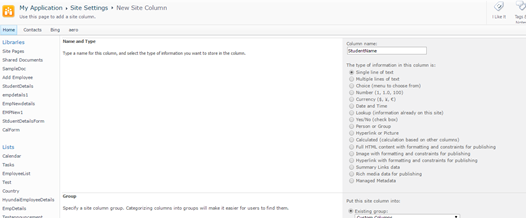
Create Site column Age with Number as DataType.
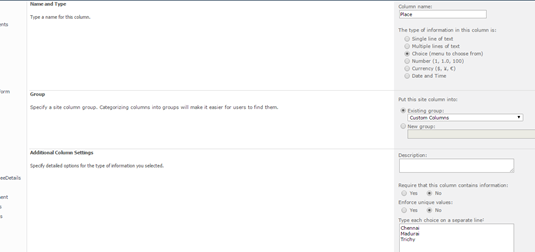
Create a site column Place with Choice
Chennai
Madurai
Trichy.
Navigate to Site Action –>Site Settings
Click on Site Content Types in Gallery.
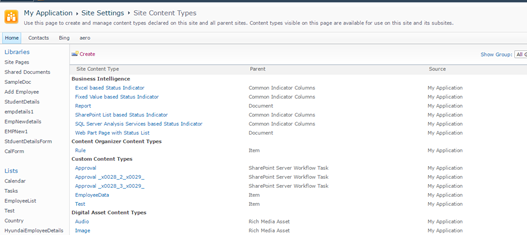
Click on Create.Create a site content type with name as StudentDetails and Parent Content Type from as
List Content Type and Parent Content Type as Item.
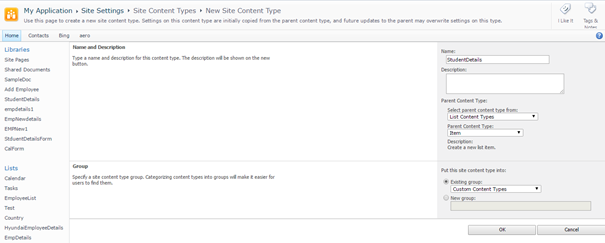
Click Ok.
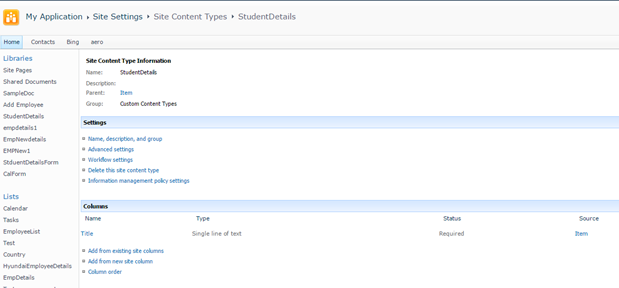
Click on Add from Existing Site column.
Select Custom Columns in the dropdown.
Add StudentName,Age,Place to Columns to add.Click on Add.
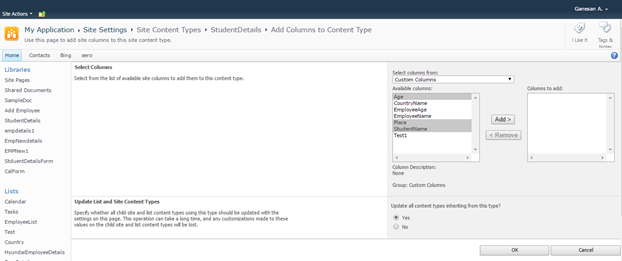
Click Ok.
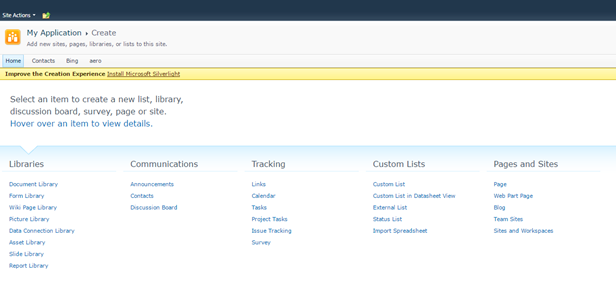
Create a Custom List as shown below.
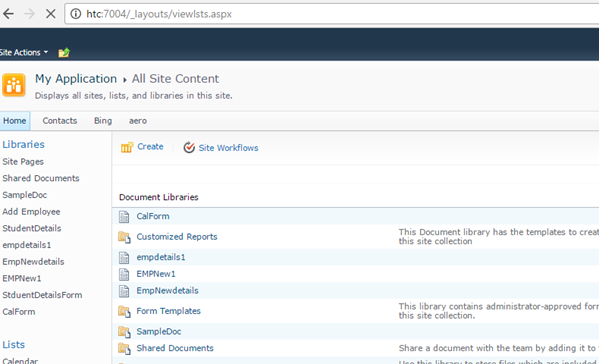
Click on Site Action –> View All site content
Click on Create.
Select Custom List as shown.
Create a List StudentDB.
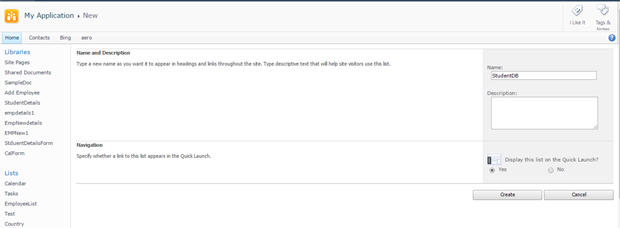
Click on Create.
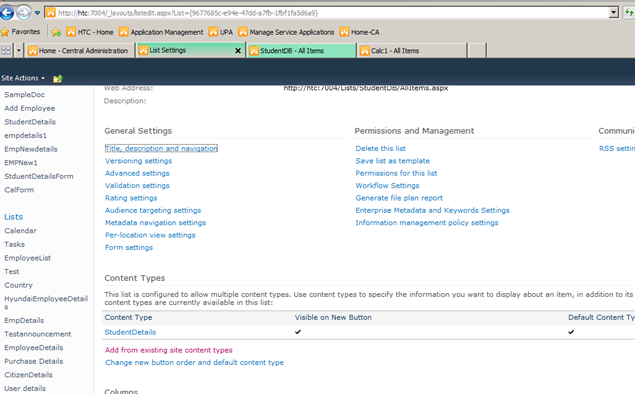
Click on List settings. Click on Advanced Settings.
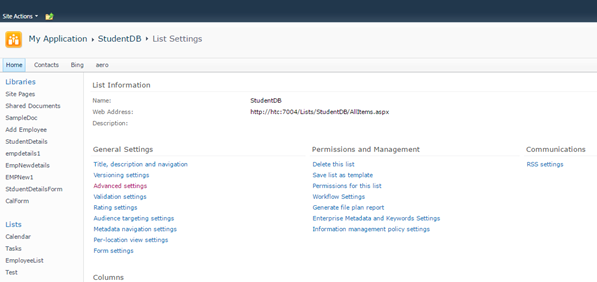
Change Allow Management of Content Types to Yes.
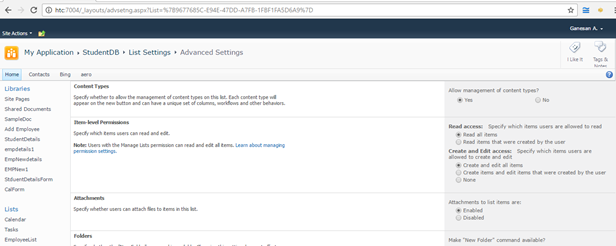
Click Ok.
Click on Add from Existing Site content Types from Content Types Tab.
Select Custom Content Types from Dropdown as shown below.
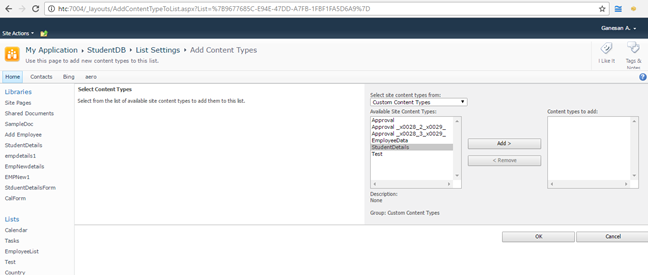
Select Student Details and Click on Add.
Click on Ok .Now the content Type will be added to List.
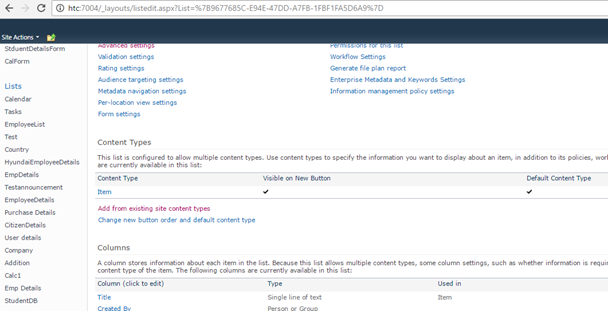
Now you can see both content types.

Click on Item Content Type.
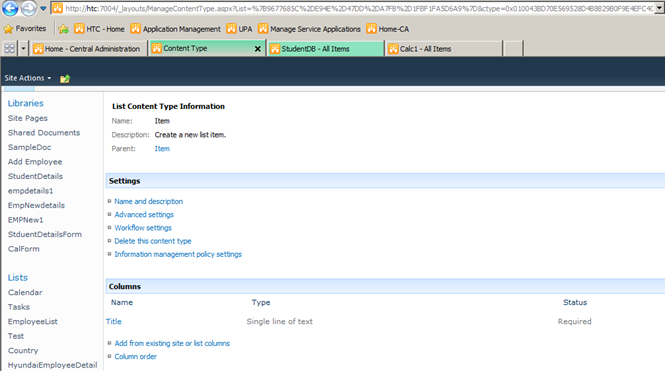
Click on Delete this Content Type.
Now you can see only one Content Type associated with the List ie. StudentDetails .
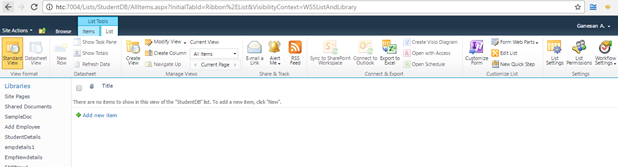
Click on New item in StudentDb List.It shows StudentDetails ContentType.
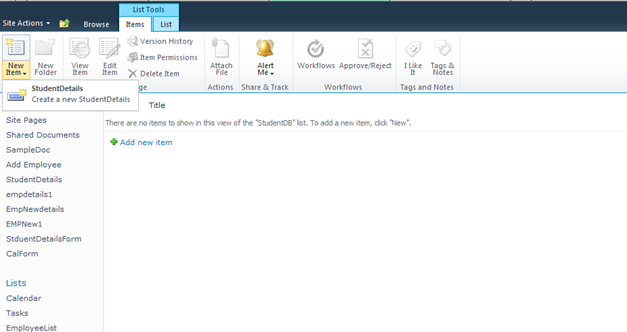
http://htc:7004/Lists/StudentDB/AllItems.aspx
Click on New Student Details link. The New form appears as below.
Click on Modify View and Add the columns to View.
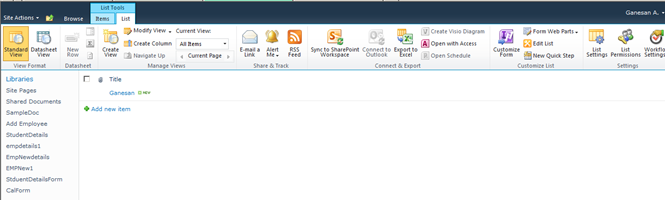
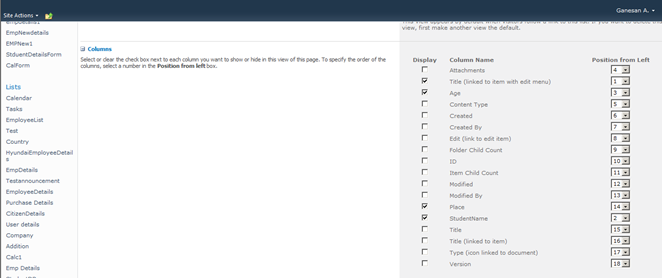
Click on Ok .Now the view looks as below.

CRUD operation with SharePoint List in Visual web part
Document by Ganesan – Ganesanva@hotmail.com – + 919600370429
-
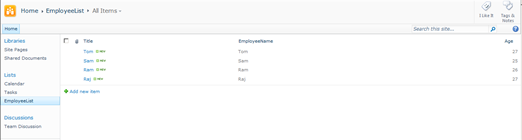
Create EmployeeList in Sharepoint 2010 site with the below Columns.
EmployeeName, Age
- Create a new Visual Web part Project using File –>New Project
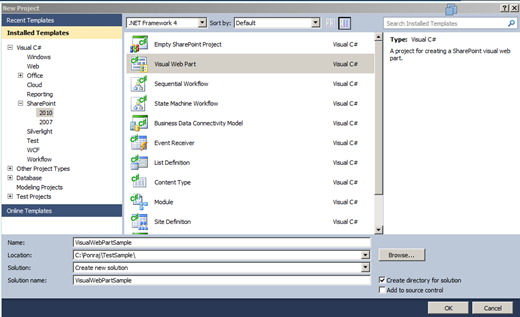
Click Ok.
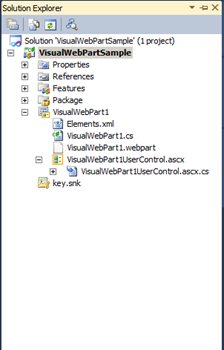
The Solution Explorer will looks as below,
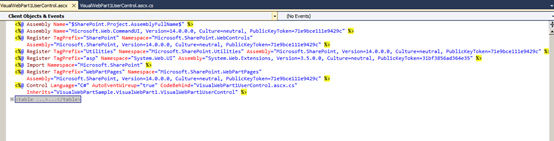
In VisualWebPart1UserControl.ascx Put the below code snippet,
| <table border=”0″ cellpadding=”2″ cellspacing=”2″> <tr> <td colspan=”2″ style=”color:Green”> <asp:Label ID=”lblresults” runat=”server”></asp:Label> </td> </tr> <tr> <td> Employee Name </td> <td> <asp:TextBox ID=”txtEmployeeName” runat=”server”></asp:TextBox> </td> </tr> <tr> <td> Age </td> <td> <asp:TextBox ID=”txtAge” runat=”server”></asp:TextBox> </td> </tr> <tr> <td> </td> <td> <asp:Button ID=”btnSave” runat=”server” Text=”Save” OnClick=”btnSave_Click” /> <asp:Button ID=”btnUpdate” runat=”server” Text=”Update” onclick=”btnUpdate_Click” /> <asp:HiddenField ID=”hfId” runat=”server” /> <asp:Button ID=”btnClear” runat=”server” Text=”Clear” onclick=”btnClear_Click” /> </td> </tr> <tr> <td colspan=”2″> <asp:GridView ID=”grvEmployeeDetails” runat=”server” AutoGenerateColumns=”false”> <Columns> <asp:BoundField DataField=”ID” HeaderText=”ID” /> <asp:BoundField DataField=”EmployeeName” HeaderText=”Employee Name” /> <asp:BoundField DataField=”Age” HeaderText=”Age” /> <asp:TemplateField> <ItemTemplate> <asp:Button ID=”btnEdit” runat=”server” Text=”Edit” onclick=”btnEdit_Click” /> </ItemTemplate> </asp:TemplateField> </Columns> </asp:GridView> </td> </tr> </table> |
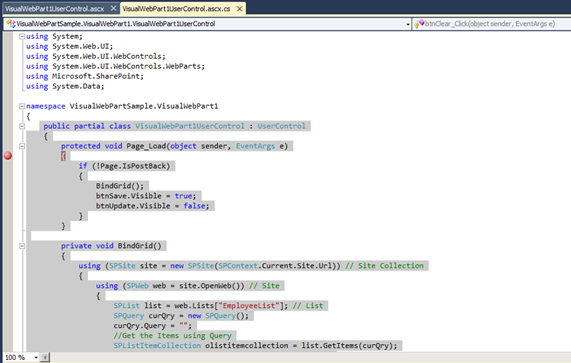
In VisualWebPart1UserControl.ascx.cs put/Replace the below code snippet,
| public partial class VisualWebPart1UserControl : UserControl { protected void Page_Load(object sender, EventArgs e) { if (!Page.IsPostBack) { BindGrid(); btnSave.Visible = true; btnUpdate.Visible = false; } } private void BindGrid() { using (SPSite site = new SPSite(SPContext.Current.Site.Url)) // Site Collection { using (SPWeb web = site.OpenWeb()) // Site { SPList list = web.Lists[“EmployeeList”]; // List SPQuery curQry = new SPQuery(); curQry.Query = “”; //Get the Items using Query SPListItemCollection olistitemcollection = list.GetItems(curQry); DataTable dt = olistitemcollection.GetDataTable(); grvEmployeeDetails.DataSource = dt; grvEmployeeDetails.DataBind(); } } } protected void btnSave_Click(object sender, EventArgs e) { using (SPSite site = new SPSite(SPContext.Current.Site.Url)) // Site Collection { using (SPWeb web = site.OpenWeb()) // Site { SPList list = web.Lists[“EmployeeList”]; // List SPListItem oListItem = list.Items.Add(); oListItem[“Title”] = txtEmployeeName.Text; oListItem[“EmployeeName”] = txtEmployeeName.Text; oListItem[“Age”] = txtAge.Text; oListItem.Update(); BindGrid(); lblresults.Text = “Saved Successfully”; } } } protected void btnEdit_Click(object sender, EventArgs e) { Button btn = (Button)sender; //Get the row that contains this button GridViewRow gvr = (GridViewRow)btn.NamingContainer; hfId.Value = gvr.Cells[0].Text; txtEmployeeName.Text = gvr.Cells[1].Text; txtAge.Text = gvr.Cells[2].Text; btnSave.Visible = false; btnUpdate.Visible = true; } protected void btnUpdate_Click(object sender, EventArgs e) { using (SPSite site = new SPSite(SPContext.Current.Site.Url)) // Site Collection { using (SPWeb web = site.OpenWeb()) // Site { SPList list = web.Lists[“EmployeeList”]; // List SPListItem oListItem = list.Items.GetItemById(Convert.ToInt32(hfId.Value)); oListItem[“Title”] = txtEmployeeName.Text; oListItem[“EmployeeName”] = txtEmployeeName.Text; oListItem[“Age”] = txtAge.Text; oListItem.Update(); BindGrid(); lblresults.Text = “Updated Successfully”; } } } protected void btnClear_Click(object sender, EventArgs e) { txtEmployeeName.Text = string.Empty; txtAge.Text = string.Empty; hfId.Value = string.Empty; lblresults.Text = string.Empty; btnSave.Visible = true; btnUpdate.Visible = false; } } |
Right click on the Project and Click Deploy.
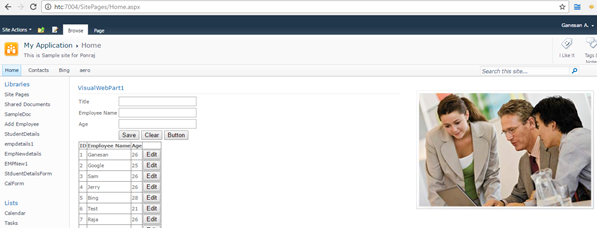
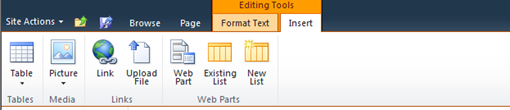
Go to Home Page and Click on Site Actions –>Edit Page
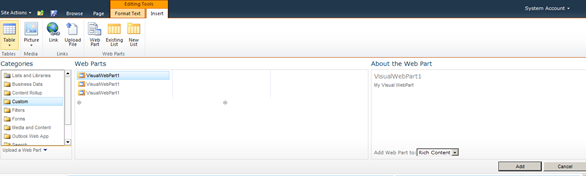
Insert –>Web part in Ribbon.
Select the Web part and click Add.
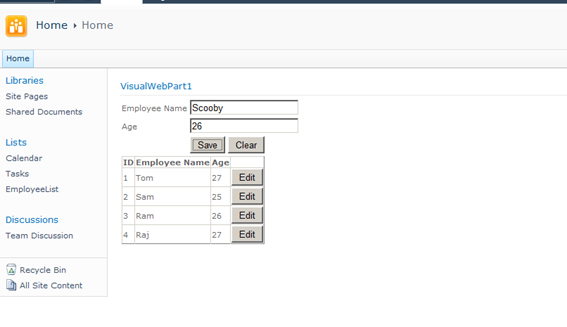
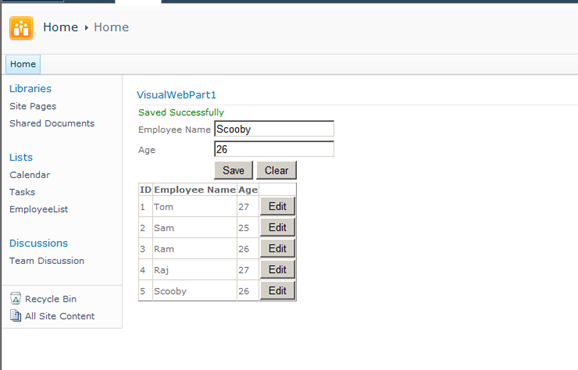
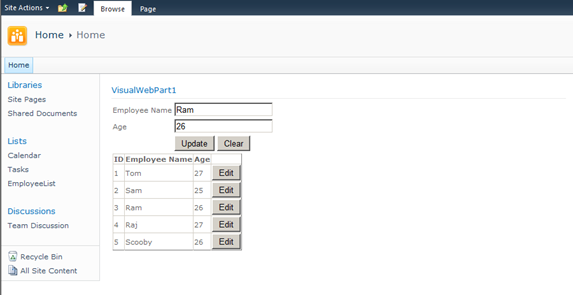
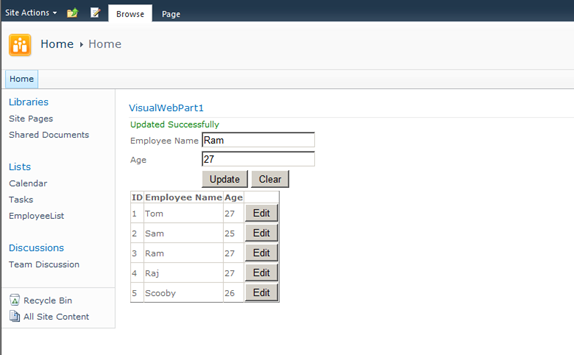
The Output as below,
Click below to download the solution,
https://1drv.ms/u/s!ArddhCoxftkQg6l3ED81o25f4nzffg
Recent Posts
- Banking Sector: Tackling Security and Data Integrity Challenges with .NET Skills
- How Data Analytics Helps Manufacturers in Bangalore Reduce Production Downtime
- Understanding ASP.NET MVC Architecture with Real Examples
- Common Challenges in Learning Programming and How Python Makes It Easier
- Why Companies Are Hiring More React Developers Than Ever Before
Categories
- All
- Angularjs training in Chennai
- ASP.NET Core
- Data Analytics
- Dot Net Development Course
- dot net training
- dot net training in chennai
- dotnet full stack developer
- Free dotnet training
- information on dotnet
- Learn Java in chennai
- Learn Python at Karaikudi
- learn python online
- learn python online from chennai
- Linq Queries in .net
- mutual funds
- MVC Training Tutorials
- PHP Training in Chennai
- pmp training online
- power apps online training
- Power platofrm
- Python Training Online
- React Full Stack Development
- React training
- ReactJs
- share market
- Sharepoint framework online training
- SharePoint Freelancers in Chennai
- software testing
- spfx online training
- SQL Course Details
- Stock market
- Uncategorized